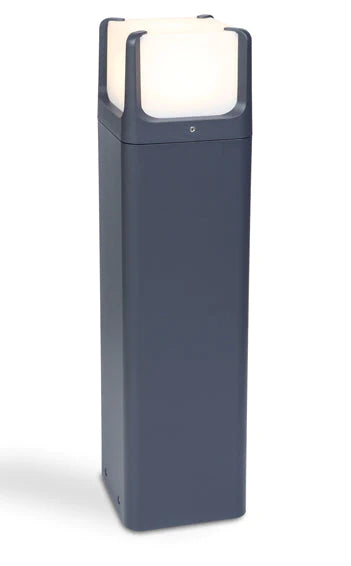
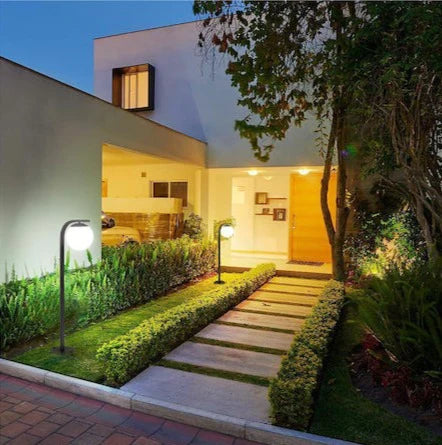
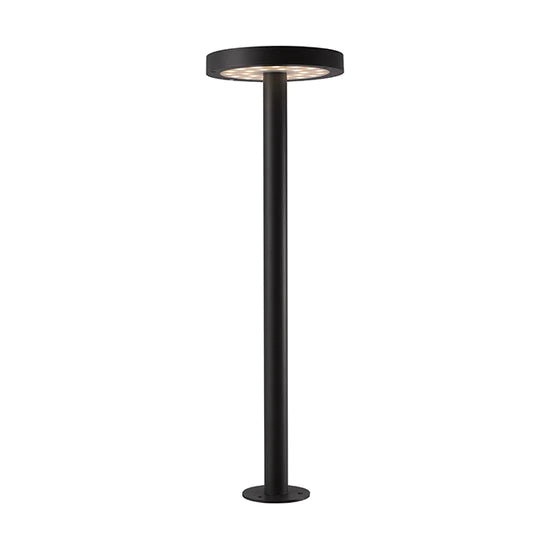
There's nothing stopping you from installing an 12V or 24V bulbs into our collection of E27 Bollard Lights - there will be 3 cable connection points - Live, Neutral and Earth - and if you want to use 12V or 24V bulbs in these bollards you will then only need to use 2 connection points, the third can be left blank.
The process is fairly straight forward and the only part to pay attention to if you are installing multiple units is to make sure you keep track of the polarity.
What are 12V and 24V bulbs?
Before we dive into the installation process, let's quickly understand what 12V and 24V bulbs are. These bulbs are low-voltage options that provide a brighter and more energy-efficient lighting solution for your bollards. They are designed to work with a specific voltage, either 12 volts or 24 volts, and offer a longer lifespan compared to traditional bulbs.
Step 1: Gather the necessary tools
Before you begin the installation, make sure you have the following tools handy:
- Screwdriver
- Wire strippers
- Wire connectors
- 12V or 24V bulbs (depending on your preference)
Step 2: Turn off the power
For safety reasons, it's crucial to turn off the power supply to the bollard lights before starting the installation. Locate the circuit breaker that controls the lights and switch it off.
Step 3: Remove the old bulbs
Using a screwdriver, carefully remove the screws or clips that hold the bollard's cover in place. Once the cover is removed, you'll have access to the old bulbs. Gently twist and remove them from their sockets.
Step 4: Prepare the wires
Using wire strippers, strip about half an inch of insulation from the ends of the wires connected to the bollard. This will expose the bare copper wire, allowing for a secure connection.
Step 5: Connect the new bulbs
Take your 12V or 24V bulbs and insert them into the empty sockets. Make sure they are securely in place. Next, connect the wires from the bollard to the corresponding wires on the bulbs. Twist the exposed copper wires together and secure them with wire connectors.
Step 6: Test the lights
Now that the new bulbs are installed and the wires are connected, it's time to test the lights. Turn the power supply back on and check if the bollard lights up. If everything is working correctly, proceed to the next step. If not, double-check the connections and ensure the bulbs are properly seated.
Step 7: Replace the cover
Once you're satisfied with the lighting, carefully place the bollard's cover back on and secure it with screws or clips. Ensure that the cover is properly aligned and fits snugly.
Step 8: Enjoy your well-lit bollard
Congratulations! You have successfully installed 12V or 24V bulbs in your bollard. Now, sit back, relax, and enjoy the enhanced brightness and energy efficiency of your outdoor space.
Remember, always prioritize safety when working with electricity. If you're unsure about any step of the installation process, it's best to consult a professional electrician. Happy lighting!


